tiramisu ice cream sandwiches (gf)
a no-churn mascarpone ice cream + espresso-soaked ladyfingers that stay soft when frozen (with a gf option)
last month, i wrote about how i struggled to come up with a good ice cream cake recipe. from the concept behind the dessert (i wanted something fun and pretty), to the recipe development (something quick and texturally spot-on), i was stuck.
but this month my luck changed! the idea for a tiramisu ice cream sandwich came to me out of the blue one day, and it easily met all of the requirements i was struggling with when developing the ice cream cake.
1. unlike the ice cream cake, the very first batch of this was absolutely delicious (in no small part thanks to the mascarpone ice cream recipe being adapted from stella parks’ - i didn’t have to start from scratch on this component). not only is the flavor there, but the espresso-soaked ladyfingers (with some ratio tweaking) remained soft even when frozen. and the ice cream tastes almost exactly like tiramisu filling.
2. the ice cream base is no-churn, meaning as long as you have a hand mixer and a two big bowls and a pot, you can make this dessert at home, no ice cream machine is required.
3. this recipe takes about 45 minutes of active time (add 15 minutes if you’re making the gf ladyfinger sponge recipe i’ve included below), but please don’t forget the sandwiches need substantial time to chill.
frankly, my only gripe with this recipe is that cocoa powder will get all over your clothes when you bite into the sandwich if you add too much.
other than that, this is a perfect dessert that i am soooooo excited to be sharing with you today. this will undoubtedly be on my summer dessert rotation for years to come, and i can’t wait until next summer when i get to make another batch (still savoring the last few from this batch).
some important ps.s:
ps. you can also serve this as an ice cream cake, and slice table side.
pps. there is a recipe for a gluten-free ladyfinger sponge at the bottom of the recipe. théo actually preferred this version of the sandwich over the store-bought ladyfinger kind (i preferred the store-bought version though). it only adds about 15 minutes of active time to make the sponge (and you probably the ingredients at home already). please note that if you are making the homemade ladyfinger sponge, you must make this first.
ppps. this is a great dish for guests. 1. it comes together quickly, and can be made very far in advance; 2. it is so fun and pretty and delicious that it will totally wow; and 3. it can go straight from the freezer to the plate/mouth which means no fussing in the kitchen while you are having fun with your family/friends!
pppps. because this is a no churn ice cream it doesn’t have the same exact texture as the ice cream you buy at the store, it is more akin to a frozen custard.
ppppps. this recipe is ahead of the paywall :) happy baking!
ingredients
espresso soak quantities for store-bought ladyfingers:
225g of espresso
150g white sugar
heaping 1/4 tsp diamond crystal kosher salt
72g marsala wine
espresso soak for gf ladyfinger sponge cake:
120g of espresso
80g white sugar
pinch diamond crystal kosher salt
40g marsala wine
ladyfingers:
see the recipe at the bottom of the page if you are making the gf ladyfinger sponge you must do this first
or
2 packages of ladyfingers - approximately 400g of cookies in total (try to purchase packages with unbroken cookies, all of the ladyfingers will get used)
mascarpone no-churn ice cream: adapted from stella parks!
7-8 large eggs
200g white sugar
50g raw/turbinado sugar (or substitute with white sugar)
1 tsp diamond crystal kosher salt
450g mascarpone
200g heavy cream
15-20g vanilla extract/vanilla bean paste
to finish:
cocoa powder
tools:
hand mixer/stand mixer
8x12” or 9x13” baking tray
digital thermometer (not necessary but highly, highly recommended)
sifter/sieve or pastry brush
espresso soak!
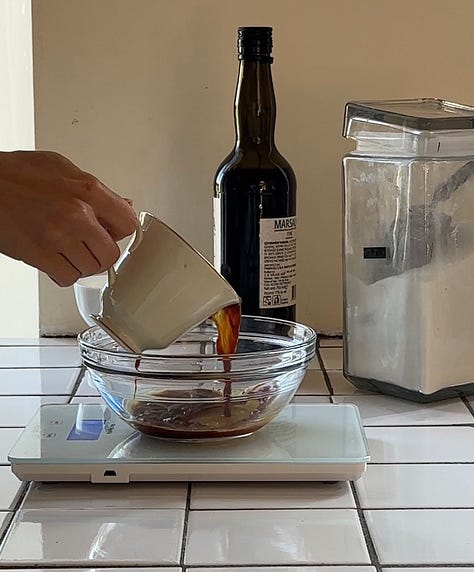
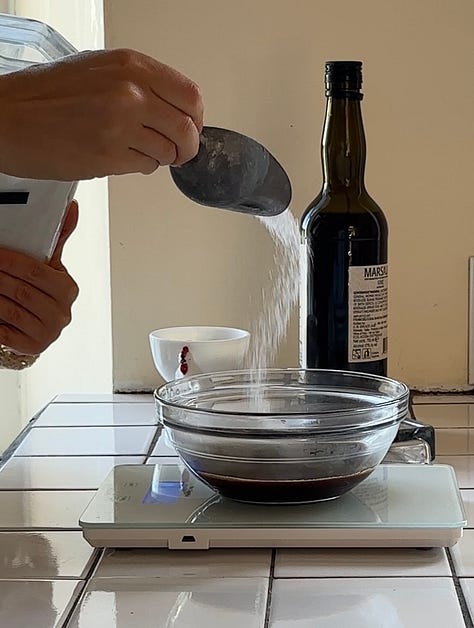
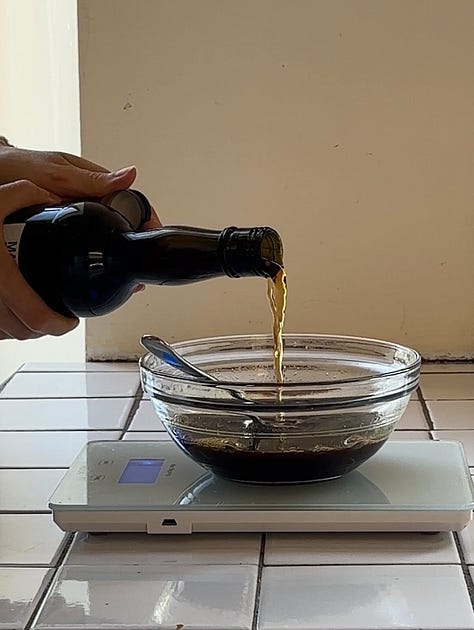
start by making your espresso soak (please follow the quantities associated with whichever ladyfinger version you are using – see quantities in ingredients above).
place espresso, sugar, and salt in a medium and stir until all the sugar is dissolved. then stir in your marsala wine. set aside.
mascarpone no-churn ice cream!
start by lining your baking tray with parchment paper. to get it to fit snugly, cut ~2” slits at the width of the pan on the long sides of the piece of the parchment. press the parchment down into the pan, fitting it to the bottom and letting each side curve to line the perimeter of the pan. watch the video below for a visual.
take your largest mixing bowl or your stand mixer bowl, and find a pot the bowl can fit over nicely to create a double boiler. fill the pot with about 3 inches of water and set it over high heat.
in the meantime, place the bowl on a kitchen scale and begin cracking in your eggs. we are looking to get 325g of eggs, if the last egg measures over 325g remove some egg white until you hit 325g. add your white sugar, raw sugar, and salt and whisk to combine.
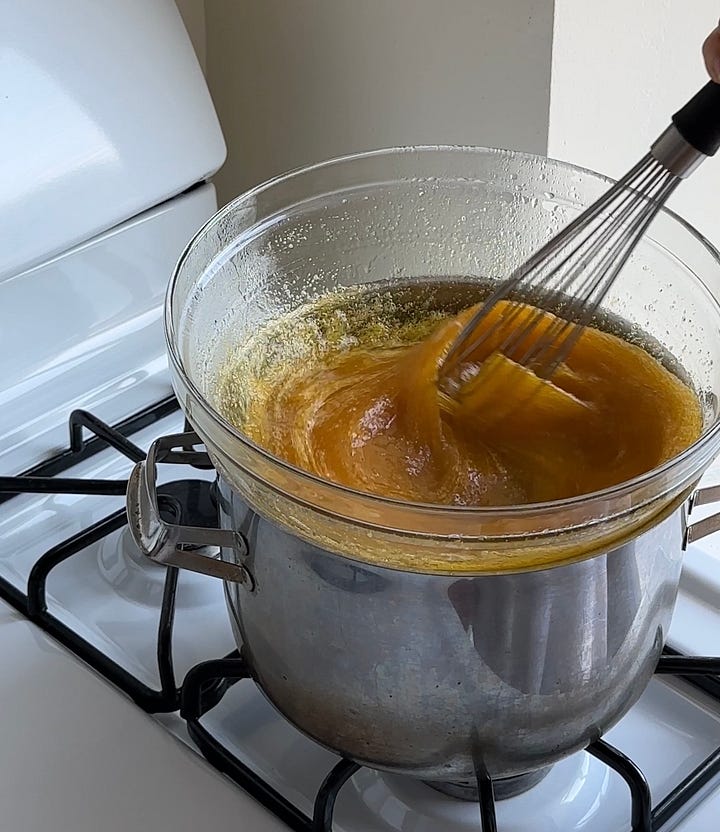
at this point, the water in the pot should be hot. place the bowl over the hot water. whisk the eggs and sugar mixture until it reaches 165f/78c. this will take about 6 minutes (if you do not have a digital thermometer, whisk until the mixture is thin and hot, not warm, to the touch).
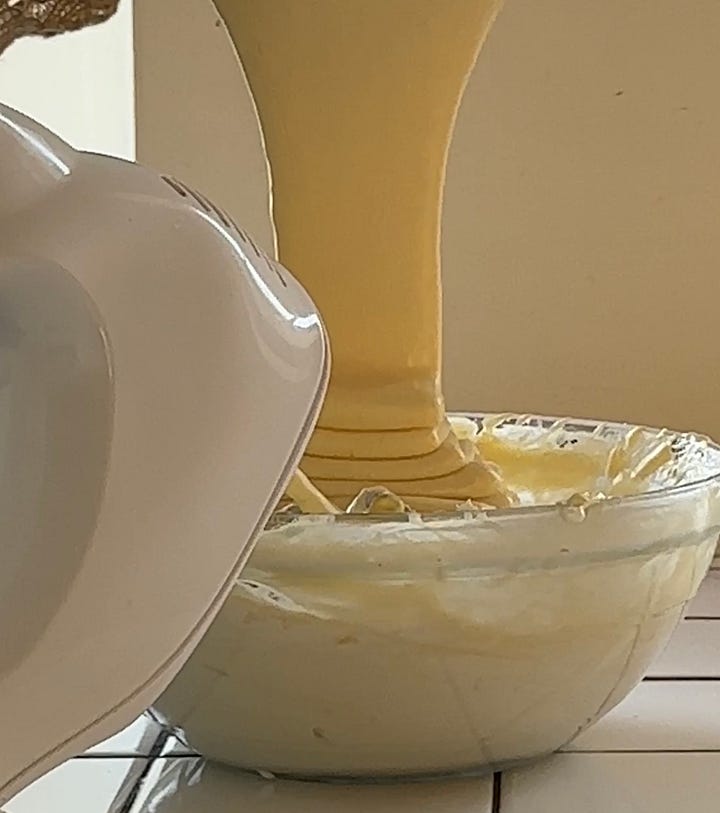
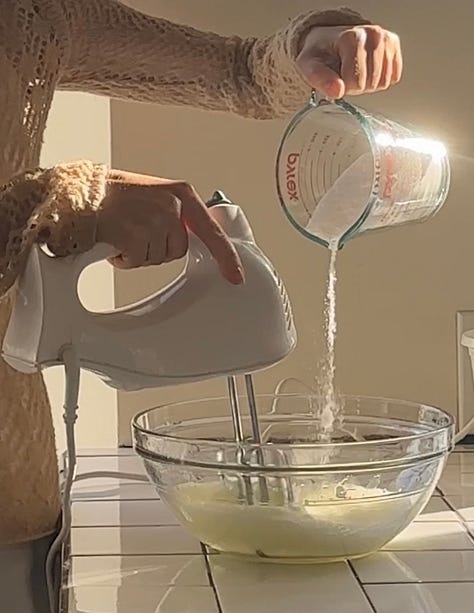
remove the bowl from the heat and use your hand mixer or stand mixer fitted with the whisk attachment to whip until the mixture has quadrupled in size. it should be very fluffy, and, when the beaters are lifted out of the mixing bowl, the whipped eggs should fall from the mixture very slowly/in a large clump. using a hand mixer will take about 9 minutes (less for a stand mixer).
in your second largest mixing bowl, measure in your mascarpone, heavy whipping cream, and vanilla extract. whip until the mixture is stiff and thick and your beaters leave a ribbon.
pour about a quarter of the whipped eggs into the whipped mascarpone and, with your hand mixer on low, mix the two until there are no lumps. add another quarter of the egg mixture to the mascarpone and mix on low again until there are no more lumps remaining. then pour the mascarpone/egg mix into the largest bowl with the remaining whipped eggs. fold together and then briefly use the electric mixer on low to remove any pockets of mascarpone cream. set the ice cream base aside.
assembly for the gf ladyfinger sponge cake:
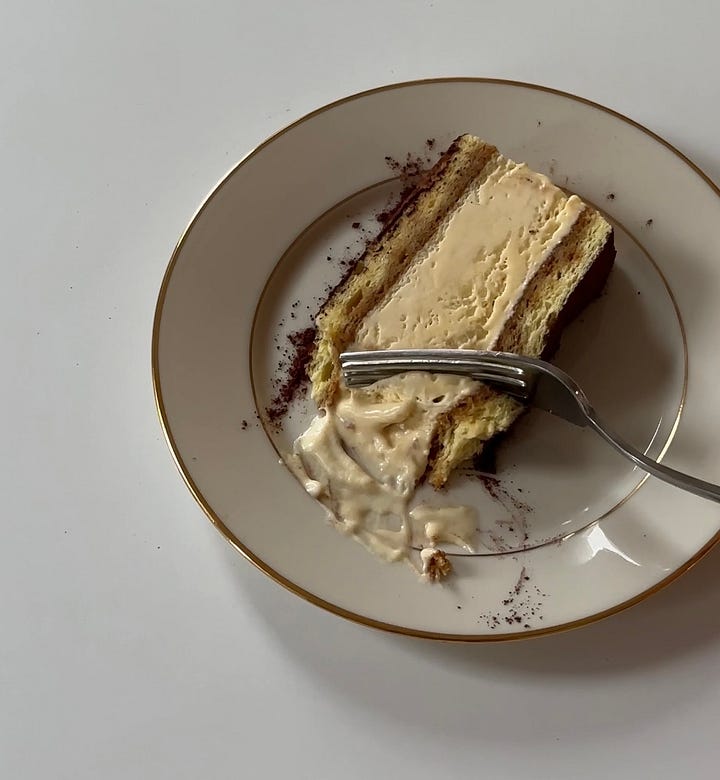
cut the cake in half down the middle so that it will fit in your prepared sheet tray. before transferring the cake to the sheet tray, brush one side of each half of the cake with the espresso soak (or use a spoon to ladle it on and spread it around). use all of the espresso soak.
place one half of the cake into the baking tray lined with parchment, espresso soak-side facing up. then pour your mascarpone ice cream on top. smooth out/level the ice cream with a soft spatula or offset spatula, making sure to nudge the ice cream into the corners of the pan. then, place the other half of the cake on top with the espresso soak-side facing the ice cream.
transfer the cake to the freezer and freeze for 10 hours minimum, preferably overnight.
assembly for packaged ladyfingers:
grab your ladyfingers and–working one at a time–quickly dunk both sides of the ladyfinger into the espresso soak (count to about 3 mississippis). you don’t want them sopping wet, and you likely will not use all the espresso soak. place each ladyfinger in the prepared baking dish creating two rows along the length of the tray. pour your mascarpone ice cream on top. smooth out/level with a soft spatula or offset spatula, and make sure to nudge the ice cream into the corners of the pan. for the top layer, soak your ladyfingers again, just as you did before, and place them on top of the ice cream.
transfer the baking tray to the freezer and freeze for 10 hours minimum, preferably overnight.
finish!

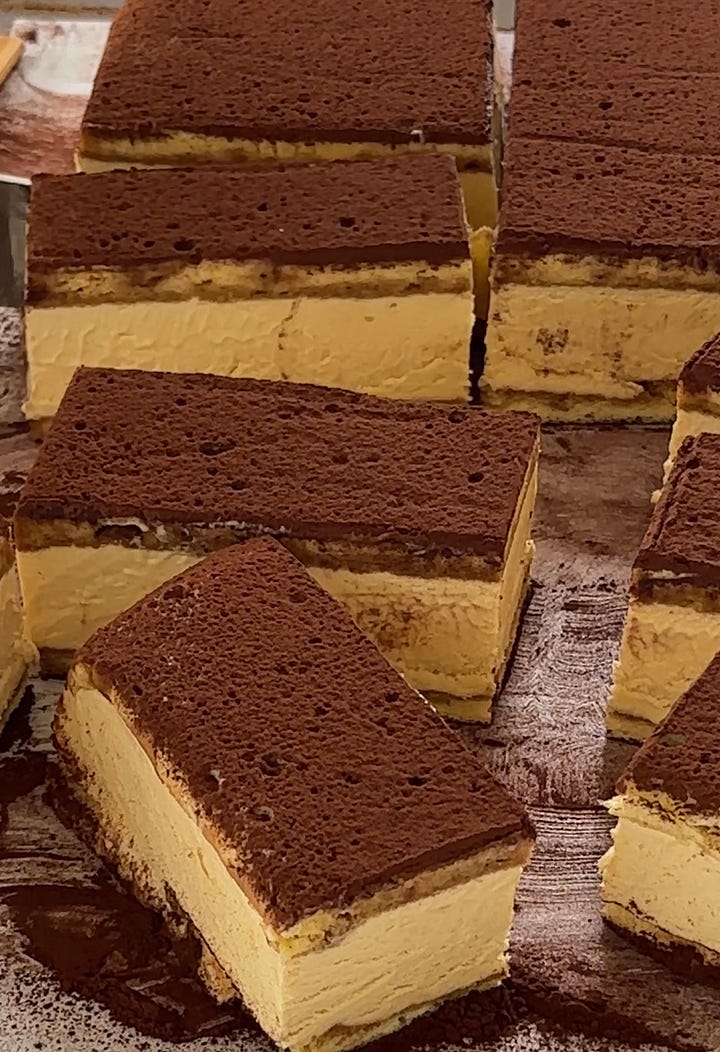
ps. if you want to serve the dessert as an ice cream cake, just flip the cake out of the tray onto a platter, then dust the top of the cake with cocoa powder. serve and slice table side for guests.
grab a large, sharp knife, a tall glass of warm water, and a baking sheet lined with parchment. remove the frozen tiramisu cake from the freezer. very, very lightly dust the top with cocoa powder (if you do a heavy dusting, it will fall off when you eat it and get your shirt all dirty). if you are really nervous about cocoa powder getting on your clothes you can also brush the cocoa powder on with a pastry brush. place the baking sheet lined with parchment on top of the baking tray and flip to remove the ice cream from the tin. remove the parchment off the tiramisu ice cream block and dust lightly with cocoa powder again.
dip your knife in warm water and cut the cake into sandwiches.
if you are using the ladyfinger cookies:
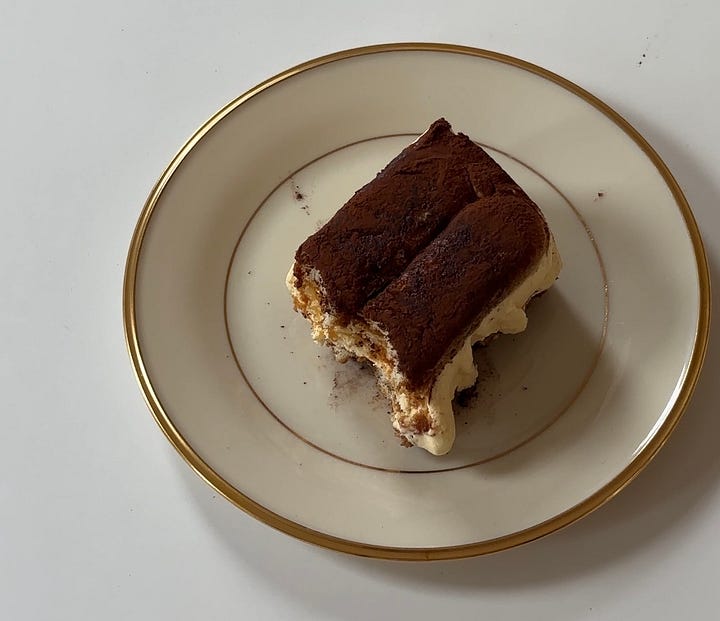
i like to make the sandwiches 1 or 2 ladyfinger cookies wide. the singular cookie thickness is great for a snack (this will make about 26 sandwiches), and the dual is great for a more substantial dessert (about 12 sandwiches).
if making from the ladyfinger sponge:
i like to slice in half the long way and then cut 7-12 sandwiches horizontally (14-24 sandwiches in total).
either serve immediately, or transfer the sheet tray with the ice cream sandwiches back to the freezer to firm up. after ~30 minutes, transfer to a storage container for storing, or place in individual wax paper bags/wrap each in parchment (eating these from the wax paper/parchment will make the mess of cocoa powder less likely) and then place in a storage container.
ladyfinger sponge cake
ingredients:
6-7 eggs
Pinch of salt
200g superfine sugar (if you do not have superfine sugar, just quickly blend your white sugar in a spice grinder or blender. this is what i do, it works just as well!)
90g cornstarch
directions:
preheat your oven to 400f/205c. line a sheet tray (one with a rim) with parchment paper. set aside.
grab your largest mixing bowl and a medium-sized mixing bowl, and place the large one on your kitchen scale. crack the egg whites into the large bowl, and place your yolks into the medium one. you are looking to get 200g egg whites (if you get this amount with 6 eggs, no need to use the 7th). add a pinch of salt to your egg whites. and, using your hand mixer on low speed, begin whipping the egg whites. increase the speed every 30 seconds and slowly add in your superfine sugar. by the time you are done adding your sugar, you should be at the top speed and have stiff peaks. this will take about 7 minutes.
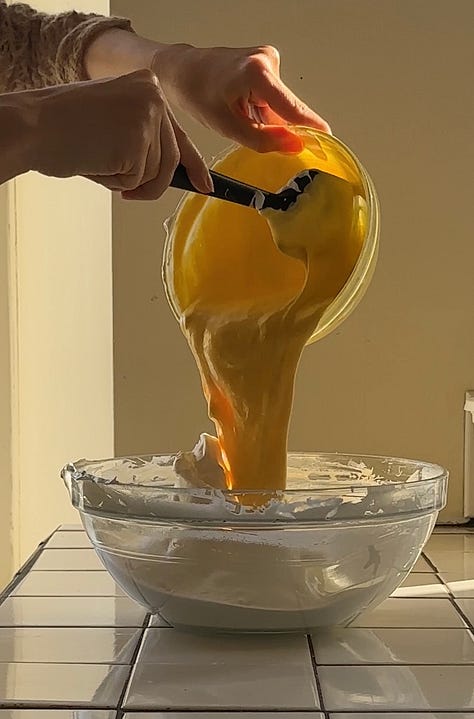
transfer a small amount of the egg whites to the yolks and fold/whisk to loosen up the yolks. then pour all of the loosened yolks into the whipped egg whites and fold to combine. sift your cornstarch on top of the egg mixture and fold until no streaks remain.
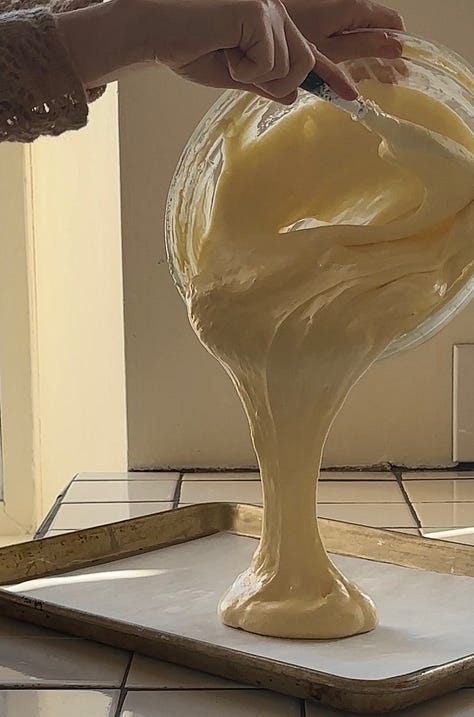
pour the batter onto your prepared sheet tray and try to get it as smooth/even as possible with an offset spatula or bench scraper.
transfer to the oven and bake for 15 minutes. the top should be browned and the cake should spring back when pushed.
remove the cake from the oven, let cool for 1-2 minutes and then peel off the top browned layer on the cake (it will come off easily). run a knife along the edge to release the cake from the sides of the baking sheet and flip the cake onto a cooling rack or another baking sheet. remove the parchment from the bottom of the sponge cake.
let the sponge cool as you make the rest of the recipe as outlined above.


I'm so excited to make this recipe! I know you said you prefer the store-bought ladyfinger version - why is that? I'm debating which route to take and wondering what the difference would be in final texture / taste of both versions. Thank you!
This was the second recipe of Paris’ that I’ve tried, and it’s really starting to feel like a ritual. Everything came out perfectly — truly a hit with everyone who tasted it. I wish I could attach a photo to show how beautiful they turned out! These recipes have been so fun to make: accessible, elegant, and even better than I could have imagined. Thank you, Paris! The ice cream was incredibly creamy, and I loved the addition of Marsala — it added such a rich, and faceted element. They held up beautifully in the freezer for at least a few weeks… only because we couldn’t stop ourselves from finishing them!