


chocolate chip cookies
chewy, caramely, and soft - while fresh out of the oven and days later

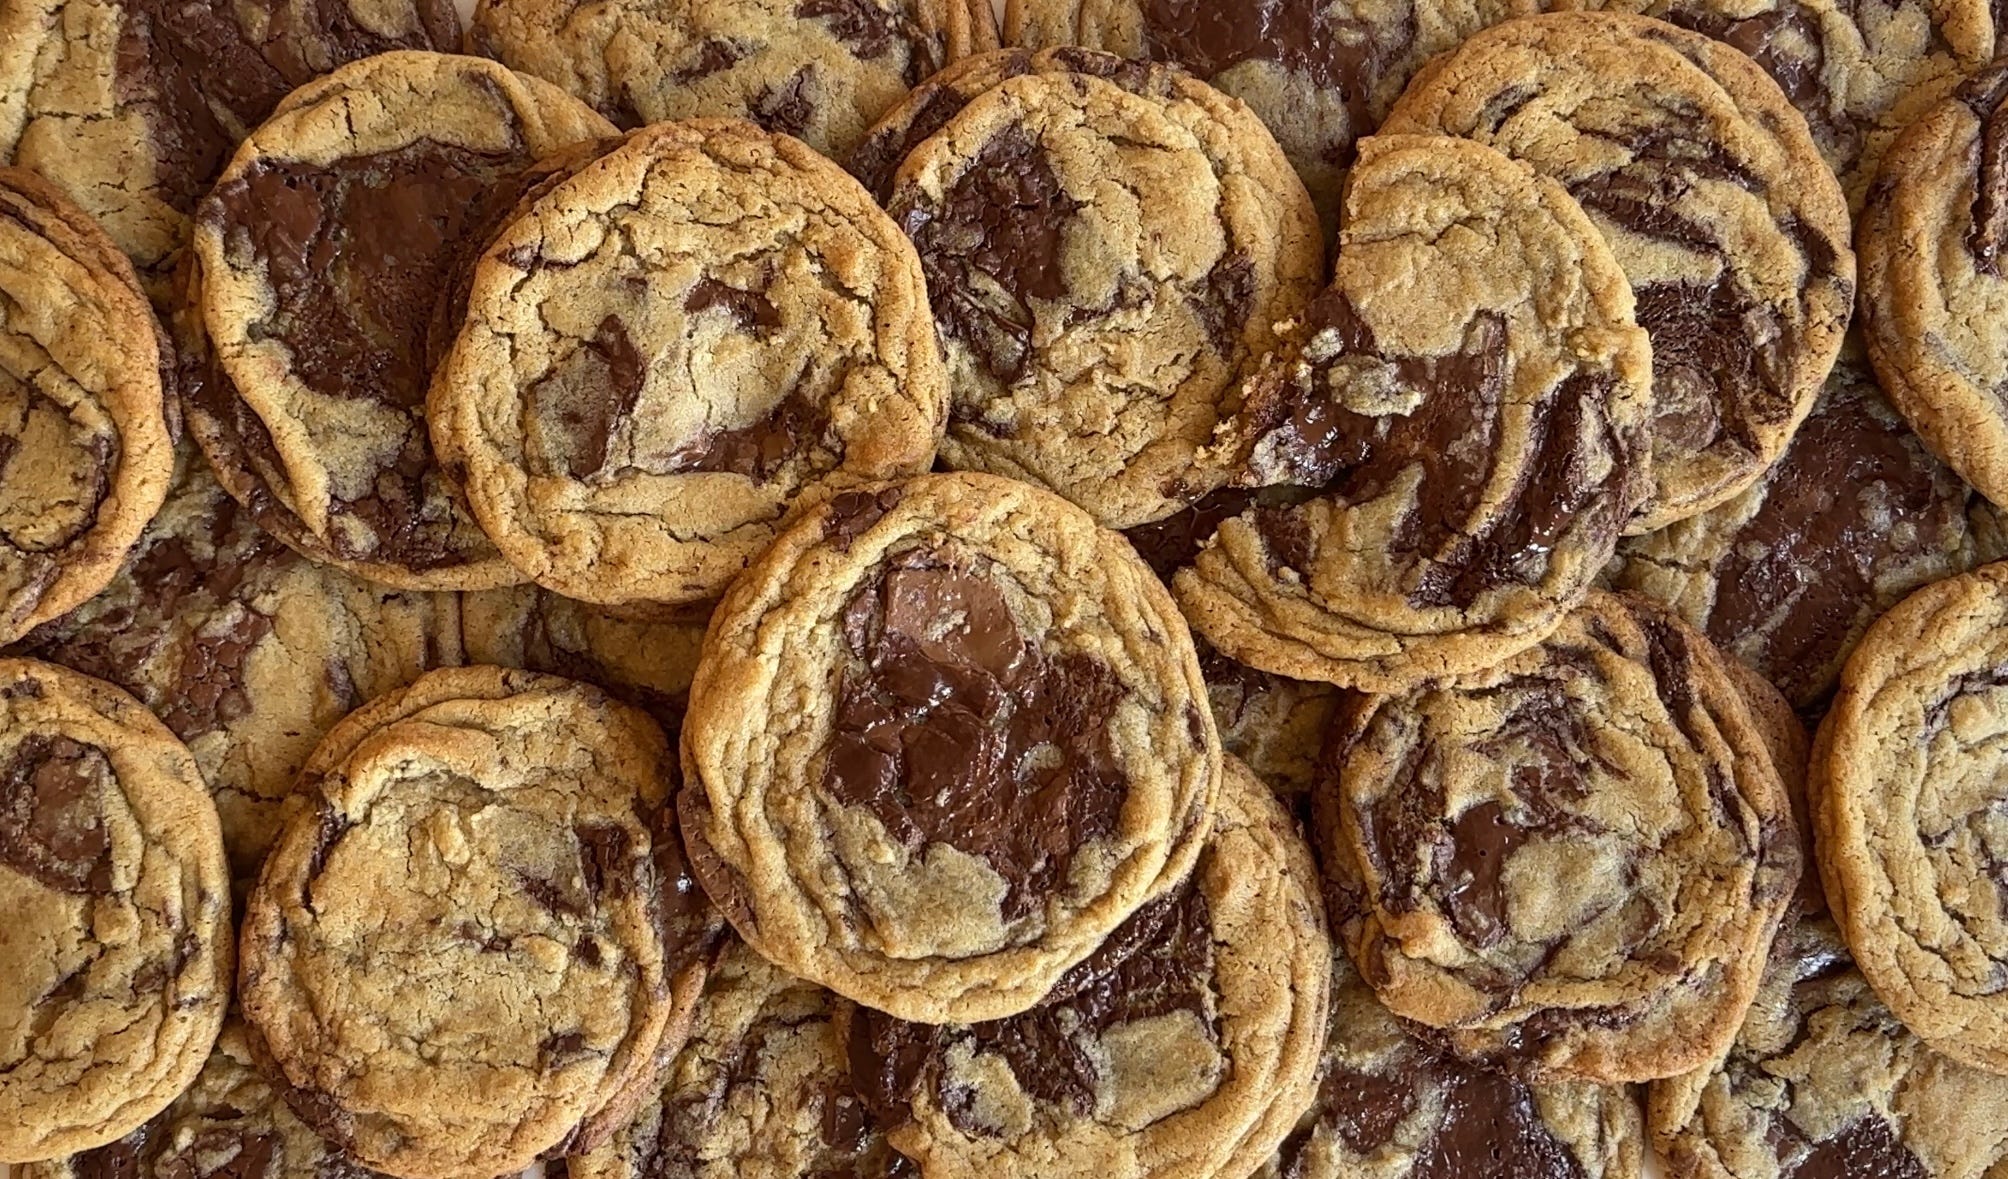
most chocolate chip cookies are really good while hot, so for me, the real test of a chocolate chip cookie recipe is how well they hold up when they’re cool: are they still chewy and caramely, with nice and soft chocolate creating that perfect bite? over months of intensive testing spread out over a few years, i’ve formulated a cookie that still “holds up” once cooled.
this recipe uses a high proportion of brown sugar that helps us get that soft chewy texture when the cookies are fresh out of the oven and even after a couple of days. the quantity of brown sugar and butter also emphasizes that quintessential caramely chocolate chip cookie flavor.
you may have heard that bread flour is the secret to a chewy cookie, and this is true, but due to the quantity of brown sugar, it is simply too toothsome to use bread flour in this recipe. to balance the additional chew provided by the brown sugar, cake flour and cornstarch are used instead. the cornstarch also has the added effect of keeping the cookie from getting too flat during baking due to the high amounts of sugar and butter.
this recipe has a few adaptations available including substitutions, and varying quantities and preparations. on the quantity side, i have offered a range of butter amounts. if you use the lesser amount of butter you will end up with a softer cookie that’s a little thicker, but if you use the greater amount you will end up with a cookie with a crisper outside and more pronounced caramel notes. on the preparation side, there is an optional step of making chocolate shards, which results in a cookie with thinner pieces of chocolate in every bite. there are also options on baking time and temp, i prefer the higher temp option, you’ll get a variety of textures and more pronounced caramely notes, but if you like a sweet and super soft cookie the lower temp is the way to go.
please note that this is, unfortunately, one of those recipes where you have to make the dough at least 12 hours in advance, preferably 24-36 hours. the longer you let the cookies firm up in the fridge, the less they will spread in the oven creating a thicker, gooey-er center.
chocolate chip cookie ingredients: if you need to substitute any of the ingredients below, check out my conversions sheet
makes 19-20 cookies (portioned at 80g balls)
300g-400g of chocolate (based on preference; i use 300g and like to mix milk chocolate and bittersweet chocolate–the bittersweet i use is 65% cocoa–using 100g of milk chocolate and 200g of bittersweet. do not use chocolate chips.)
200g cake flour
200g all-purpose flour
35g cornstarch (can be replaced with 35g all-purpose flour and 35g cake flour, but the cookie will be less soft)
1 1/2 teaspoons baking powder
1 teaspoon baking soda
275g-300g room-temperature butter *see notes above*
275g dark brown sugar
120g white sugar
35g corn syrup (can be replaced with 45g white sugar)
2 teaspoons diamond crystal kosher salt
1 egg
1 egg yolk
2 teaspoons vanilla extract


chocolate!
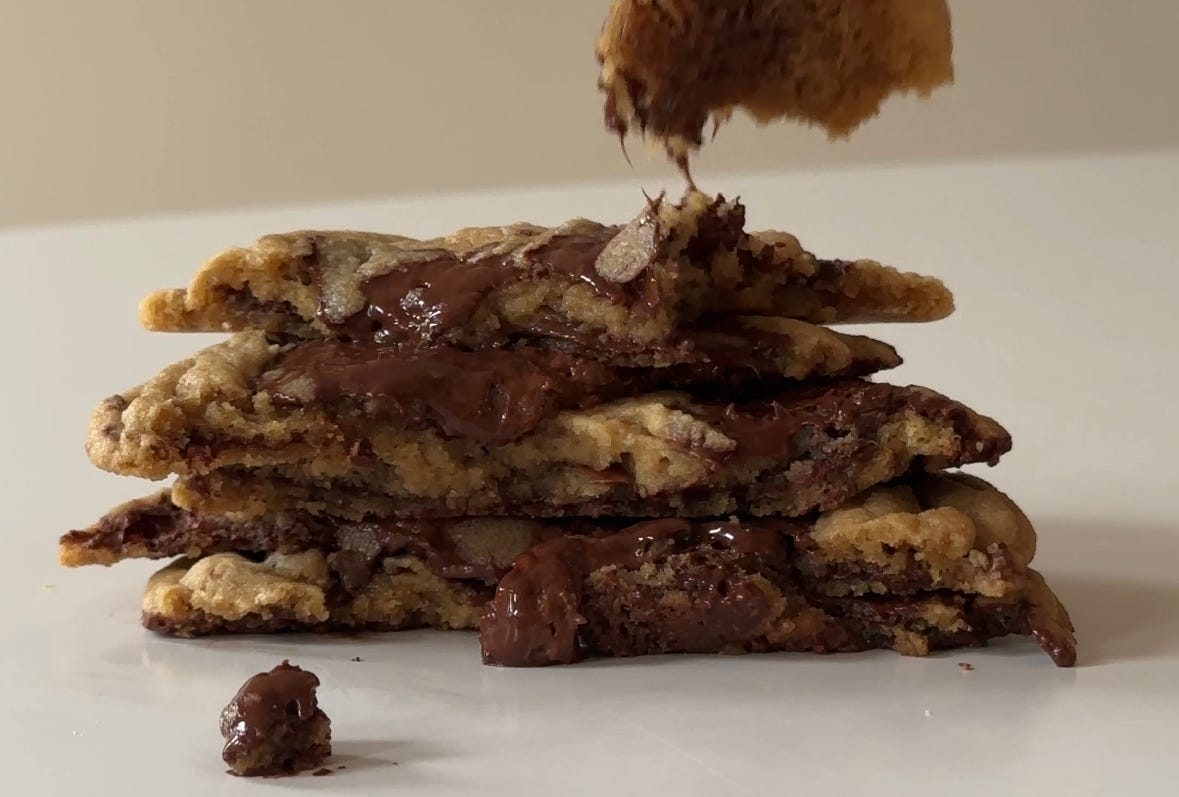
i like to start by melting my chocolate, pouring and spreading it into a thin sheet, and then breaking it into shards. this results in 1) chocolate in every bite and 2) if eaten at room temperature you won’t bite into a big hard piece of chocolate, but a piece that melts in your mouth along with the rest of the cookie allowing for an ideal texture and flavor experience (imho). this is a totally optional step, and if you don’t want to do it, feel free to skip it and just dice up your chocolate into chunks.
if you would like to melt the chocolate, start by placing your chocolate in a heat-safe bowl (if you are using a combo of milk and semisweet chocolate i like to do one first and then the other, not both at the same time). place over a double boiler to melt (or melt in the microwave at 30-second intervals for the first minute, and then 15-second intervals, stirring at each interval).
once melted, pour onto a baking sheet lined with a piece of parchment paper or silicone baking mat (if using two kinds of chocolate, at this point melt the second chocolate and pour on top of the first one). then spread with a spatula to form a sheet about 1/8” thick. place in the freezer to set while you make the cookie dough.


cookie dough!
into a medium-sized bowl, sift your all-purpose flour, cake flour, cornstarch, baking powder, and baking soda, stir or whisk (do not skip this!) to disperse the leaveners in the flour, and set aside.
in a large bowl or stand-mixer bowl, place your butter, brown sugar, white sugar, corn syrup, and salt. beat with a hand mixer or paddle attachment until light and fluffy. when most of the sugar crystals have dissolved and the butter and sugars are significantly lighter in texture and color - it’s ready (you will need to scrape down the sides of the bowl at least 3 times during this process to get an even mix).
add in the whole egg, egg yolk, and vanilla extract. beat until fully combined and light and fluffy again. scrape down the edges of the bowl one more time.
next, dump in all of your flour at once. use a large spoon (if you are using a stand mixer the paddle attachment is fine for this step) and mix until most, but not all, of the flour has been combined into the dough. you still want some streaks and clumps. remove the chocolate from the fridge/freezer, break it into shards, and add it to the mixing bowl (or dump in your chopped chocolate). finish mixing in the flour and incorporating the chocolate - this should be brief, around 15-30 seconds (we don’t want to activate the gluten too much in the flour), but thorough, making sure to remove any flour pockets that may have formed and scraping any butter-sugar bits up from the sides fo the bowl.
portion!
i like to portion the dough into 80g balls (if you like forming your dough with an ice cream scoop, this is about a ¼ cup) but do whatever size you're comfortable with. just note that the size will affect the total bake time (e.g., a 160g cookie adds about three minutes of total bake time).
i portion the dough by placing the bowl on a kitchen scale, taring it, and then removing 80g of dough at a time. i place these balls on a parchment-lined baking sheet, wrap it in cling film, and put it in the fridge for at least 12 hours to set up (preferably longer - the longer you wait, the thicker your cookie will be once baked).
if you only want to bake a few cookies at a time, wait until the dough has set up in the fridge, and then transfer any remaining cookie dough balls to a freezer-safe bag and freeze. remove from the freezer and bake off as directed below.


bake!
preheat the oven to 350f (as always, i suggest using an oven thermometer) if you would prefer a super soft cookie, with a sweeter flavor profile (less caramelly notes), reduce the temperature to 300f. once preheated, line a baking sheet with parchment paper and place five cookie dough balls, evenly spaced.
place the sheet in the middle rack of the oven and set a timer for seven minutes (8 minutes if baking at 300f). after the timer goes off, rotate the baking sheet 180 degrees and bake for another seven minutes (if baking cookies at 300f add an additional minute. if baking from frozen add two additional minutes of cooking time). at this point, check on the cookies: they should be browned on the edges and top, with some cracking, and they should be softly puffed. if not, cook for another minute or two until the cookies have just puffed up.
after removing the cookies from the oven, carefully slide the parchment paper and cookies onto your kitchen counter. within a minute or two of removing them from the oven, to get a uniformly round cookie, place a bowl, large cookie/biscuit cutter, or any round thing that fits, around each cookie and, using your wrist, move the bowl in a circular motion to form the cookie and push the edges into a perfect circle.
let the cookies cool for at least 5 minutes before eating. enjoy!
made these last night… INSANE! thank you🌟💘
These are so good! ❤️